Payments
Purpose
There are different ways to record payments to GL accounts but the most efficient way is through the GL payment system. Payments to suppliers, miscellaneous purchases, etc. can be entered here. The Quick Entries method is the fastest way to enter simple, reoccurring payments.
Procedure
Miscellaneous
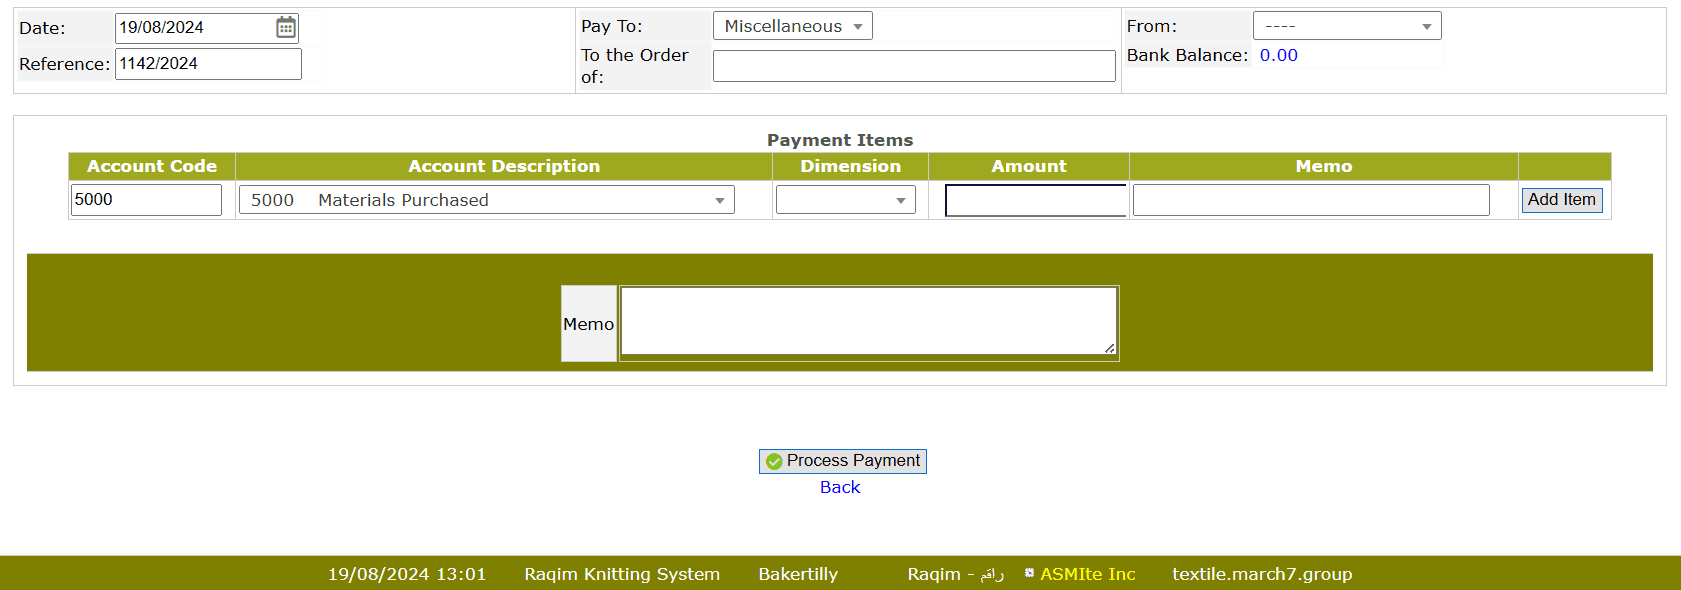
- Select Miscellaneous from Pay to drop-down list
- Select the Payer Account from the From drop-down list
- Enter the payee's name in To the order of section.
- Enter the Account code or select the Account Description through Drop-down List
- Select the Dimension of the item.
- Enter the Amount of the payment
- Click Add Item to add to the list.
- Enter any notes in the Memo field.
- Click on the Process Payment button to process payment.
Customer
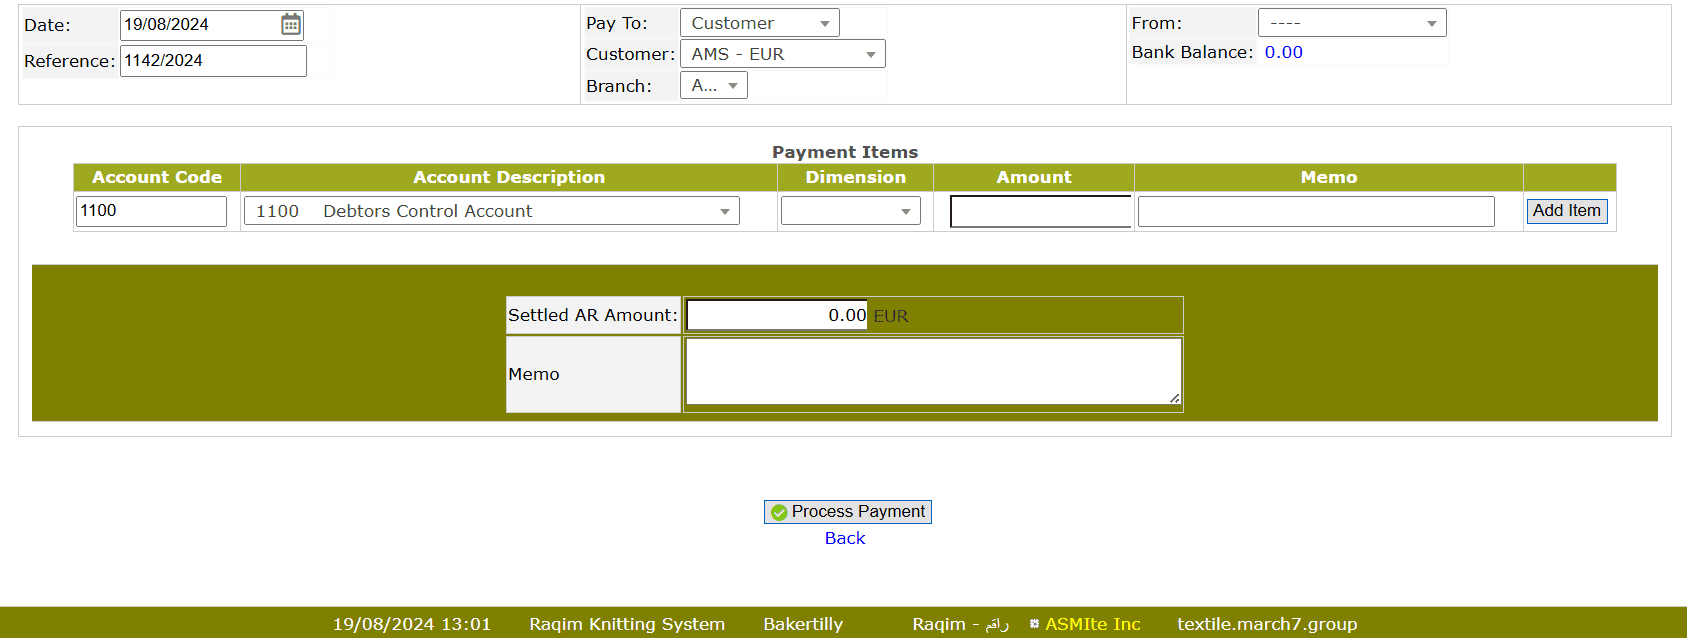
- Select Customer from the Pay to drop-down list
- Select the Payee from the Customer drop-down list
- Select the Branch of the Customer from the Drop-down list
- Select the Payer Account from the From drop-down list
- Select the Payee Account from either Account Code or Account Description drop-down list
- Select the Dimension from the drop-down list
- Enter the Amount of payment
- Write Memo of the respective payment
- Click on the Process Payment button to process payment
Supplier
Purchase Order Entry → Purchase Order Inquiry (approval) → Purchase Order Inquiry (receive) → Supplier Payment → Financial Transaction Inquiry (payment approval)
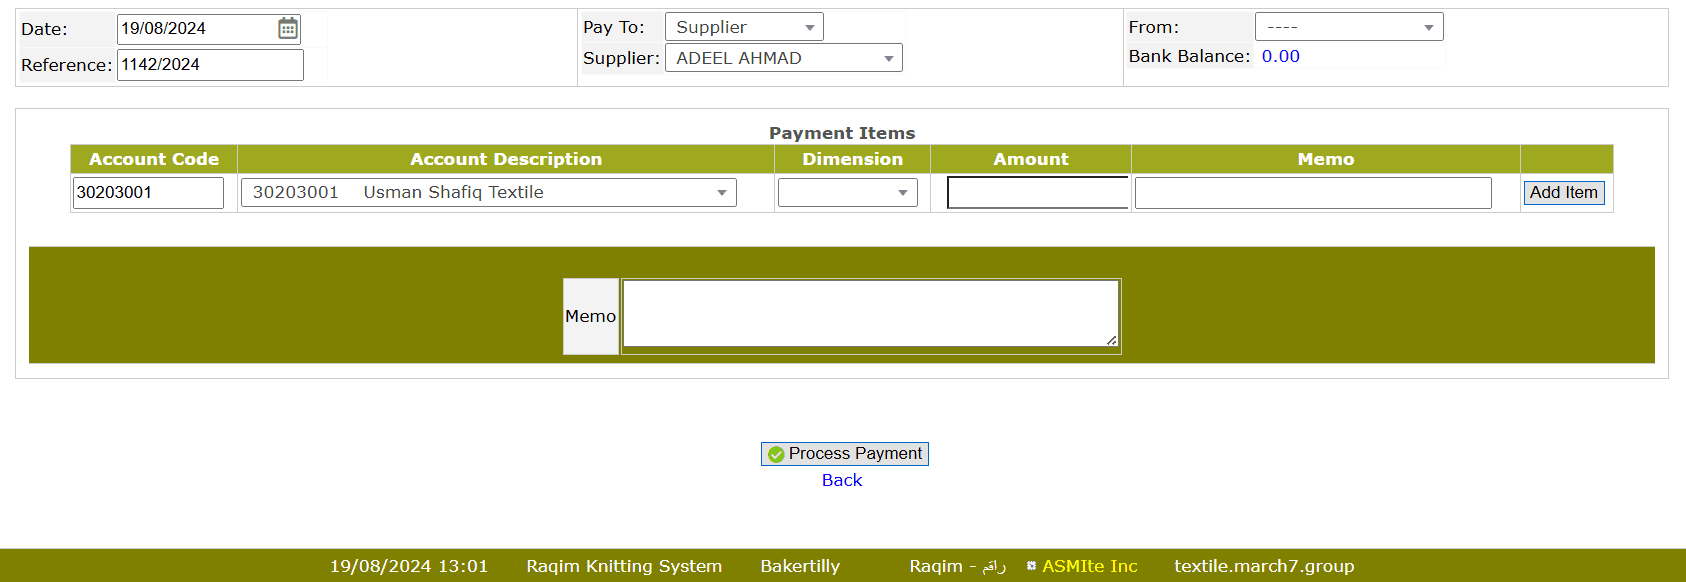
- Select Supplier from the Pay to drop-down list
- Select the Payee from the Supplier drop-down list
- Select the Payer Account from the From drop-down list
- Fill the required information and click on Process Payment button to process payment
Quick Entry
Create Quick Entry → Payments (Quick Entry) → Financial Transaction Inquiry (payment approval)
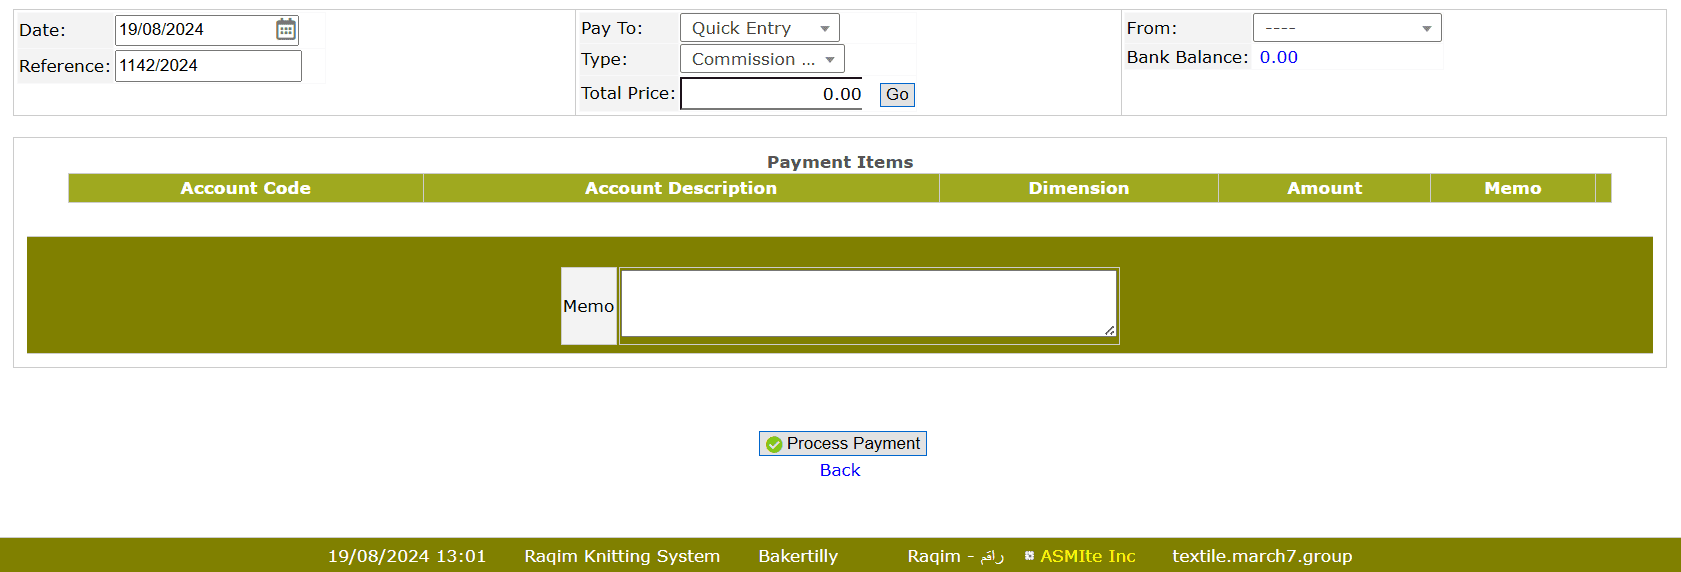
- Select Quick Entry from the Pay to drop-down list
- Select the Type of Quick Entry from the drop-down list
- Enter the total amound of payment in Total Price section
- Select the Payer Account from the From drop-down list
- Click on the Process Payment button to process payment
Advance Service
Advance Application → Loan / Advance Inquiry (Approval) → Payment (Advance Service) → Financial Transaction Inquiry (payment approval)
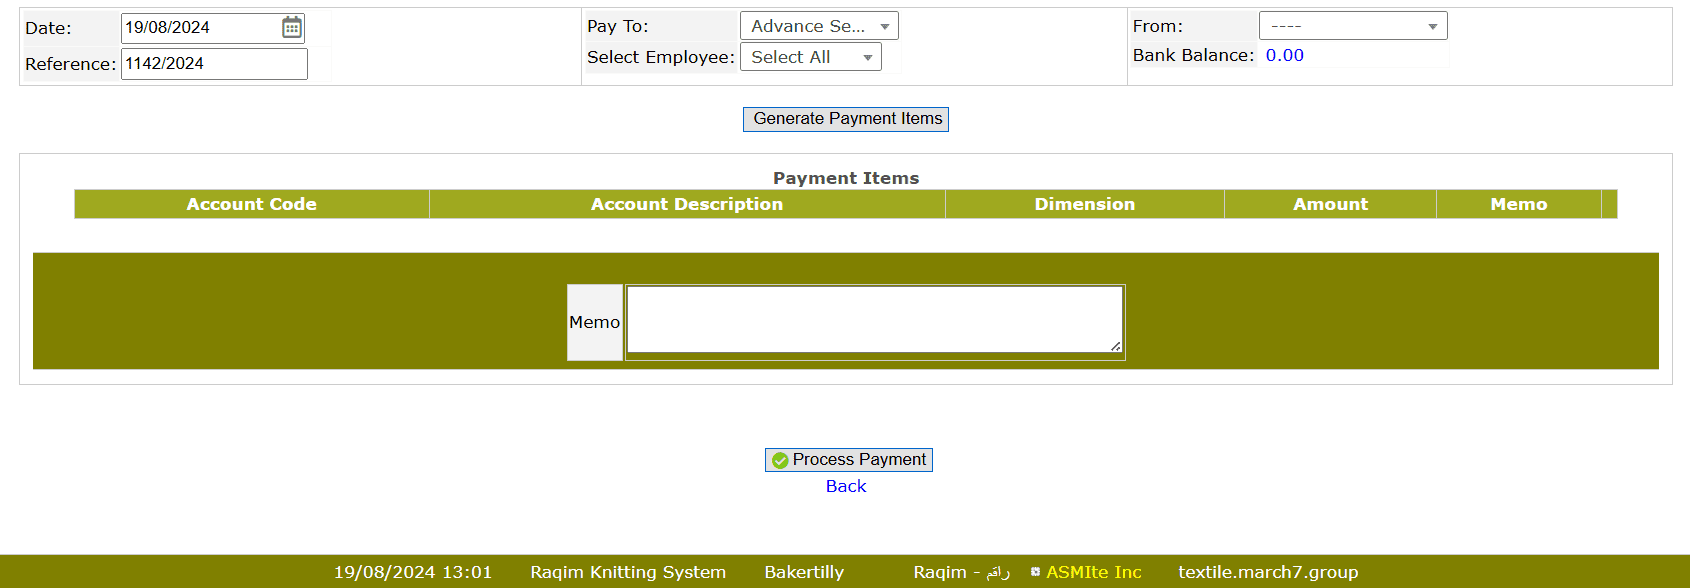
- Select Advance Service from the Pay to drop-down list
- Select Employee (Payee) from the drop-down list
- Select the Payer Account from the From drop-down list
- Click on the Generate Payment Items button to update Payment Items List
- Click on the Process Payment button to process payment
Employee Loan
Loan Policy → Loan Application → Loan / Advance Inquiry (Approval) → Payment (Employee Loan) → Financial Transaction Inquiry (payment approval)

- Select Employee Loan from the Pay to drop-down list
- Select Employee (Payee) from the drop-down list
- Select Payer Account from the From drop-down list
- Click on the Generate Payment Items button to update Payment Items List
- Click on the Process Payment button to process payment
Employee Grant
Grant Policy → Grant Application → Loan / Advance Inquiry (Grant Approval) → Payment (Employee Grant) → Financial Transaction Inquiry (payment approval)
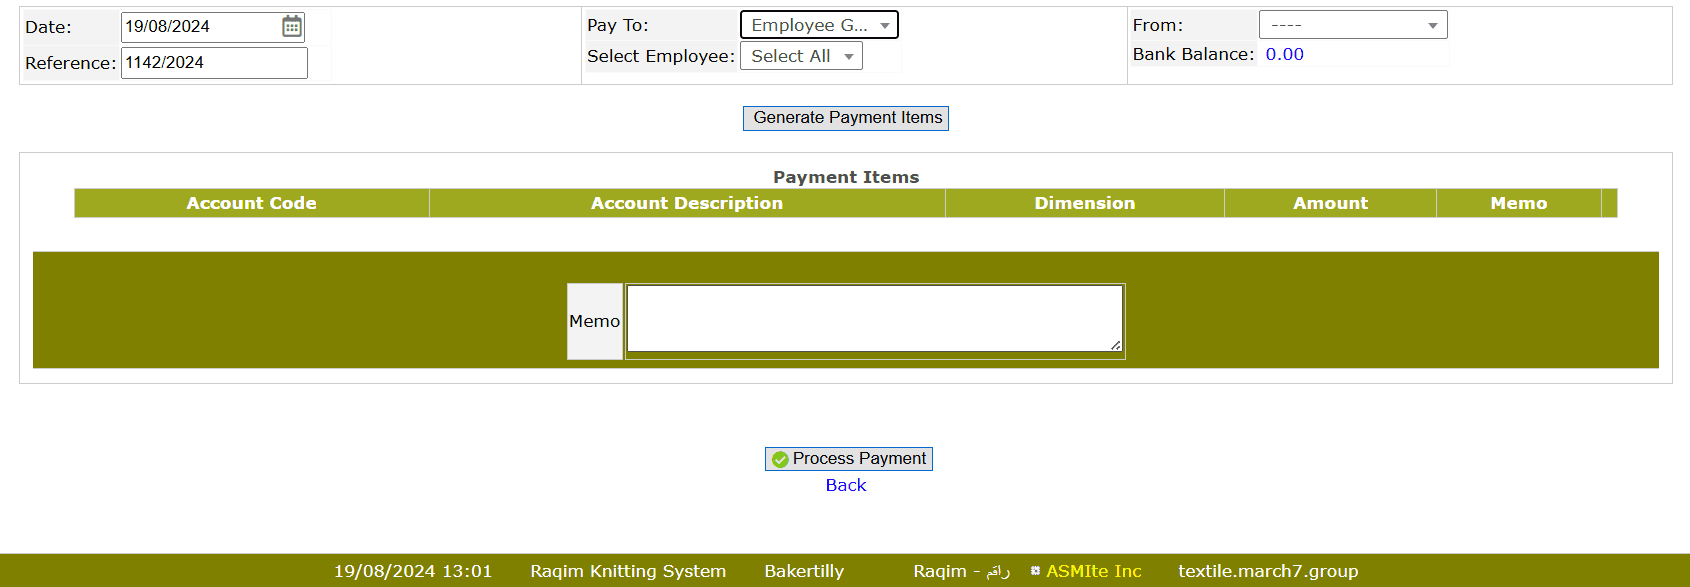
- Select Employee Grant from the Pay to drop-down list
- Select Employee (Payee) from the drop-down list
- Select Payer Account from the From drop-down list
- Click on the Generate Payment Items button to update Payment Items List
- Click on the Process Payment button to process payment
TA / DA
Travel Policy → Payment (TA / DA) → Financial Transaction Inquiry (payment approval)
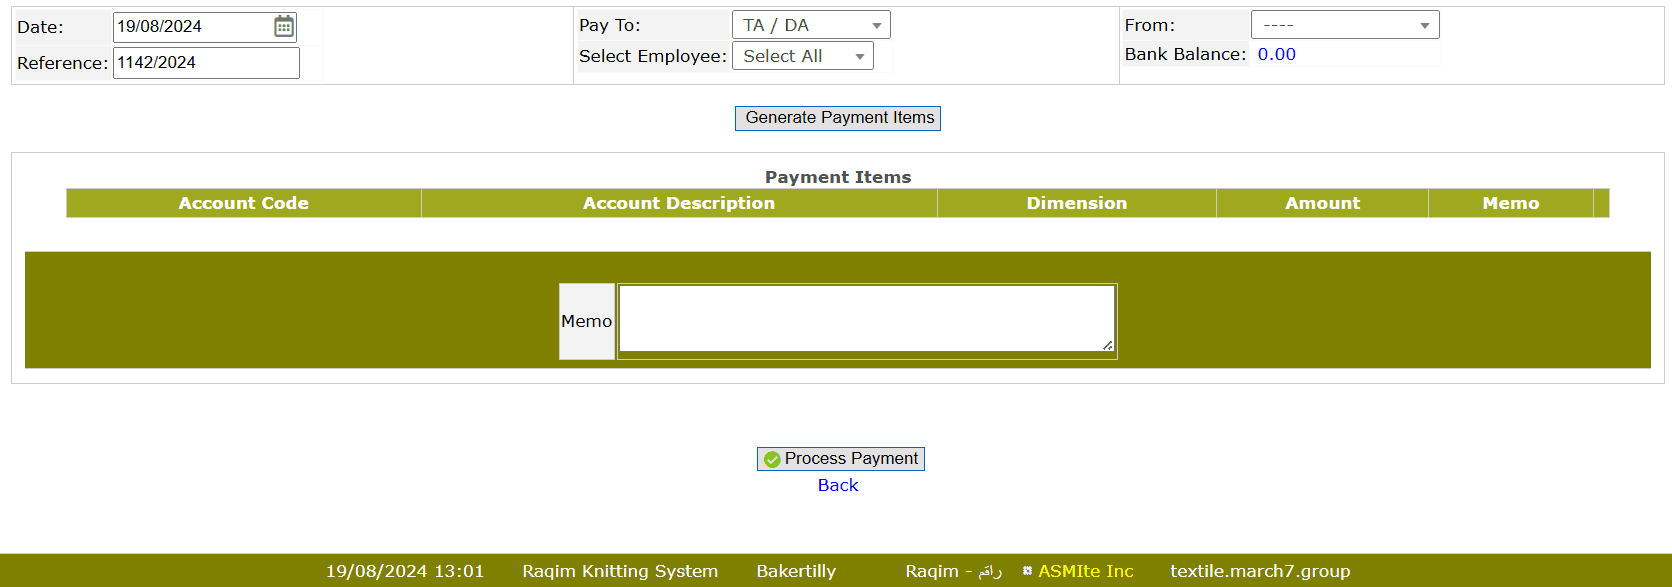
- Select TA / DA from the Pay to drop-down list
- Select Employee (Payee) from the drop-down list
- Select Payer Account from the From drop-down list
- Click on the Generate Payment Items button to update Payment Items List
- Click on the Process Payment button to process payment
Tips and Tricks
- Always view your GL posting to make sure that your entry was posted to the right account(s).
- The amount is posted as a credit to the account set in Bank Accounts for the bank selected in the document.
- Use Payments to Suppliers if you want to reconcile the deposit with supplier invoices.