GL Account Groups
Purpose
An account belongs to a group. And a group belongs to a class. Depending on how your company wants to present the balance sheets and profit and loss statements, you can build rules with help of groups and classes.
When a balance sheet is printed, it is sorted on class, group and the account itself. As you see, the accounts are not necessarily printed out in account number order. First the Title for the first Class is printed, Then the Title for the first Group is printed. Then the accounts within this group are printed. When a new group is coming, the total for the old group is printed and the title of the new group is printed. The same thing happens when a new class is coming. The total for the old class is printed and the title of the new class is printed and so on. By arranging the classes/groups you can present your balance sheets and PL statements your own way. By also using sub-groups (a group belonging to another group) you can create even more sophisticated aggregators. But this is more advanced.
Procedure
- Define/Review Acount Class first
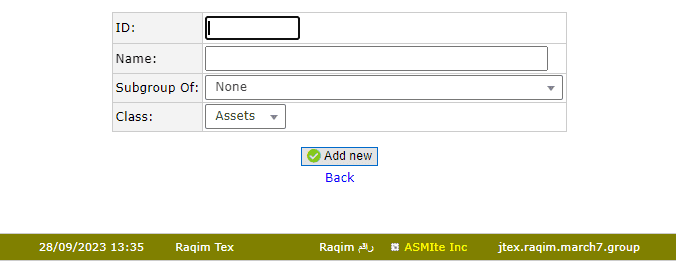
- Set Account Groups by entering Group ID, Group Name, subgroup (if any) and selecting the Class type
- Set GL Accounts

Tips and Tricks
I need to re-arrange the Account Groups/Classes. How do I do that?
As default the groups are numbered from 1-12. And Classes default from 1-4
Remember that the Balance Sheet/Profit and Loss Statement and Monthly Break down are ordered by class/group/account
Let us start with the groups. For now, let the old groups be there. Enter your groups and start f.i. with number 20. Enter all the groups you want in right order. Make a gap between them of 5. Then you can easily insert new groups if you need one. Now go into the GL Accounts and enter your new groups on each account one by one. It is now time for you to delete the old groups 1-12.
If you want to rearrange the classes. Start by entering the classes at number 10 and again make a gap of 5. Go back to the GL Account Groups and select your new classes on each group. And finally you can delete your old classes.
That's it.